Astrophotography is a captivating form of photography that allows us to capture the awe-inspiring beauty of the night sky. With the right techniques and equipment, it’s possible to create stunning images of stars, galaxies, and other celestial objects. In this comprehensive guide, we will explore essential astrophotography techniques that will help you master the art of capturing the stars.
Equipment for Astrophotography
To embark on your astrophotography journey, you’ll need some essential equipment in your arsenal:
Camera: Choose a camera that offers manual settings, as they provide more control over the exposure and other crucial factors. A DSLR or mirrorless camera is ideal for astrophotography.
Lens: Invest in lenses with a wide aperture (low f-number) to gather as much light as possible during long exposures. Wide-angle lenses are great for capturing expansive views of the night sky, while telephoto lenses can capture intricate details of celestial objects.
Tripod: A sturdy tripod is a must-have to keep your camera stable during long exposure shots. Look for a tripod that can withstand the weight of your camera and lens combination.
Remote Shutter Release: Using a remote shutter release or an intervalometer minimizes any vibrations caused by manually pressing the shutter button.
Telescope (optional): For capturing distant galaxies and nebulae, a telescope with a motorized mount is beneficial. It allows for precise tracking of celestial objects during long exposures.
Finding the Perfect Location
Selecting the right location plays a crucial role in astrophotography. Here are a few factors to consider:
Dark Sky: Seek out areas away from light pollution, such as cities and towns. Light pollution can hinder your ability to capture the stars effectively. Check light pollution maps or use smartphone apps to find dark sky locations near you.
Clear Weather: Keep an eye on the weather forecast, as clouds can obstruct your view of the night sky. Opt for clear nights with minimal cloud cover for optimal results.
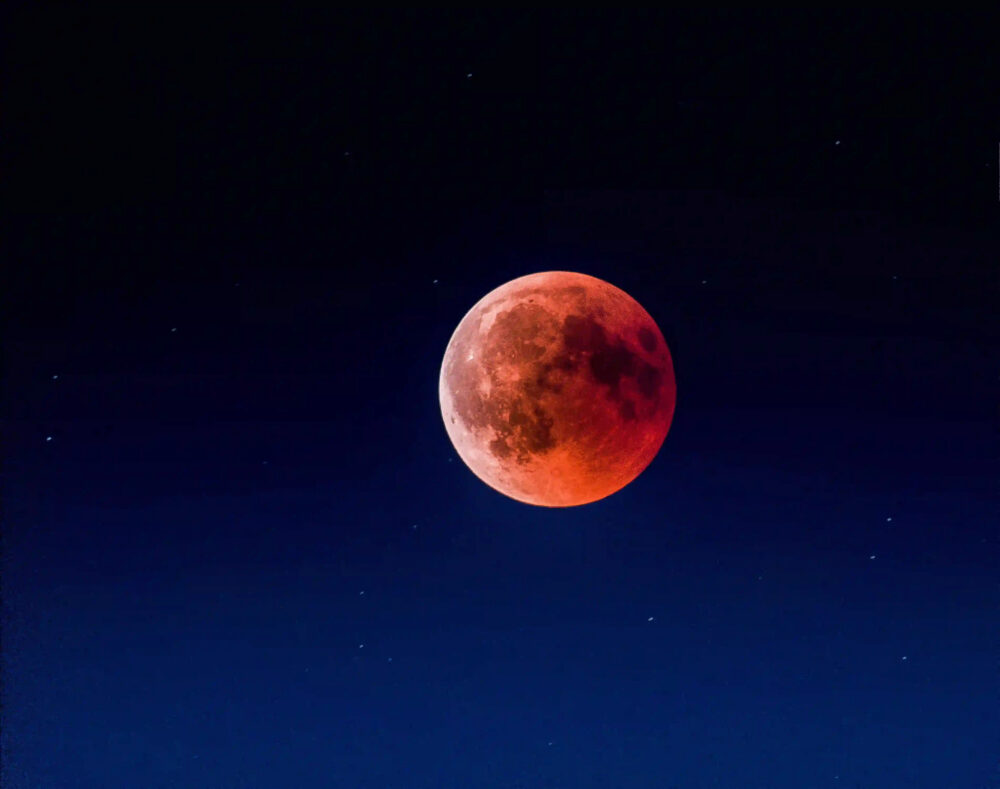
Moon Phase: The brightness of the moon can also impact astrophotography. New moon nights or nights with a sliver of the moon are ideal, as they provide darker skies.
Camera Settings for Astrophotography
Now that you have your equipment ready, let’s dive into the essential camera settings for astrophotography:
Manual Mode: Switch your camera to manual mode to have full control over the exposure settings.
Focus: Set your lens to manual focus and adjust it to infinity (∞). If your lens has a distance scale, use it as a reference.
Aperture: Open up your lens to its widest aperture (smallest f-number) to allow maximum light to reach the camera sensor.
ISO: Start with a high ISO setting, around 1600-3200, to capture the faint light of stars. Adjust this value based on your camera’s low-light performance and the desired amount of noise in your images.
Shutter Speed: Depending on the focal length of your lens and the Earth’s rotation, choose an appropriate shutter speed. Typically, exposures between 10-30 seconds work well. Longer focal lengths may require shorter exposures to prevent star trailing.
The Power of Image Stacking
Image stacking is a technique used by astrophotographers to improve the quality and reduce noise in their images. Here’s how it works:
Capture Multiple Images: Take a series of identical exposures of the same scene or object. Aim for at least 10-20 images or more.
Alignment: Use software like DeepSkyStacker or Starry Landscape Stacker to align the images. This corrects for any slight movement or drift between frames.
Stacking: The software will analyze and combine the aligned images, stacking them together. This process averages out random noise and enhances the overall signal-to-noise ratio, resulting in a cleaner and more detailed final image.
Post-processing for Astrophotography
Post-processing is an essential step in astrophotography that allows you to fine-tune and enhance your images. Here are a few tips:
RAW Format: Shoot in RAW format to retain maximum flexibility during post-processing. RAW files contain more data and allow for better adjustments without sacrificing image quality.
Basic Adjustments: Use software like Adobe Lightroom or Photoshop to make basic adjustments to exposure, white balance, and contrast. Be careful not to overdo it; subtlety is key.
Noise Reduction: Apply noise reduction techniques to further reduce any remaining noise in your stacked images. Tools like Topaz DeNoise AI or Noiseless CK can be helpful in this regard.
Selective Editing: Enhance specific features of your image by selectively adjusting brightness, contrast, or saturation. This can help bring out details in nebulas or emphasize the colors of stars.
Light Pollution Removal: If your image suffers from light pollution, use software like PixInsight or specialized plugins to remove or reduce its impact. These tools can help reveal the true beauty of the night sky.
Conclusion
Astrophotography is a captivating pursuit that allows us to capture the wonders of the night sky. By understanding the necessary techniques and utilizing the right equipment, you can master the art of capturing the stars. Remember to find a dark location, use manual camera settings, consider image stacking, and apply post-processing techniques to enhance your astrophotography results. With practice, patience, and a sense of wonder, you’ll be capturing mesmerizing images of the stars in no time.