Are you a book lover looking for a creative way to showcase your favorite stories? Or perhaps you’re an aspiring writer seeking a unique way to present your work. Whatever your motivation, DIY bookbinding offers a rewarding and fulfilling craft that allows you to create beautiful handmade books tailored to your preferences. In this comprehensive guide, we’ll explore the art of DIY bookbinding, from essential tools and materials to step-by-step instructions for various binding techniques.
Why DIY Bookbinding?
1. Personalized Touch:
DIY bookbinding allows you to infuse your personality and style into every aspect of the book, from selecting the cover materials to choosing the binding method. Whether you prefer sleek and modern designs or vintage-inspired aesthetics, you have complete control over the final product.
2. Cost-Effective:
Making your own books can be more budget-friendly than purchasing mass-produced ones, especially if you have access to recycled materials or repurpose old books. With a modest investment in basic tools and supplies, you can create custom-made books at a fraction of the cost.
3. Creative Outlet:
Bookbinding is a versatile craft that encourages experimentation and creativity. From experimenting with different paper types to incorporating embellishments like ribbons and charms, each project presents an opportunity to explore new techniques and express your artistic vision.
4. Gift-Giving:
Handmade books make thoughtful and cherished gifts for friends and loved ones on any occasion. Whether it’s a personalized journal, a collection of poems, or a family recipe book, the recipient will appreciate the time, effort, and thoughtfulness that went into creating a one-of-a-kind keepsake.
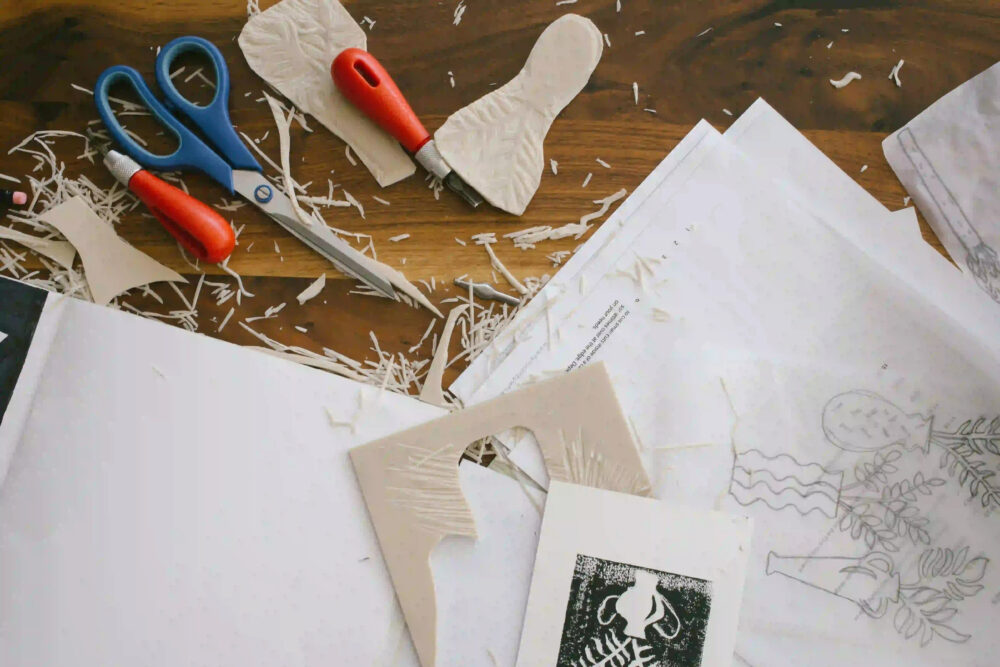
Essential Tools and Materials
Before diving into your bookbinding project, gather the following supplies:
Tools:
- Bone Folder: Used for creasing and smoothing paper.
- Awl: For piercing holes in the paper for sewing.
- Needle and Thread: Used for stitching the pages together.
- Cutting Mat and Knife: For trimming paper and cutting cover materials.
- Ruler and Pencil: For measuring and marking guidelines.
Materials:
- Paper: Choose high-quality paper suitable for your intended use, such as blank sheets for journaling or lined pages for notebooks.
- Cover Material: Options include decorative paper, fabric, leather, or recycled materials like cardboard or chipboard.
- Binding Supplies: Depending on the binding technique, you may need binding glue, bookbinding tape, or linen thread.
- Decorative Elements: Ribbons, beads, charms, and other embellishments to adorn the covers.
DIY Bookbinding Techniques
1. Saddle Stitch Binding:
Ideal for thin booklets or zines, saddle stitch binding involves folding sheets of paper in half and stapling them along the fold. This simple yet effective method is suitable for projects with fewer pages.
2. Coptic Stitch Binding:
Coptic binding is a popular method that allows the book to lay flat when opened, making it perfect for sketchbooks or journals. It involves sewing individual signatures (groups of folded pages) together using a distinctive exposed stitch pattern.
3. Japanese Stab Binding:
Japanese stab binding is a visually striking technique that uses decorative stitches to bind the pages together. It’s well-suited for smaller projects like photo albums or poetry collections and offers endless opportunities for creative expression.
4. Perfect Binding:
Commonly used in paperback book production, perfect binding involves gluing the pages together along the spine and attaching a cover. While it requires specialized equipment for professional results, you can achieve similar outcomes using DIY methods with careful attention to detail.
Step-by-Step Guide to DIY Bookbinding
Step 1: Prepare the Materials
- Cut the paper to size for the pages.
- Trim the cover material to fit the pages with extra allowance for overhang.
Step 2: Fold the Pages
- Fold the paper sheets in half to create signatures.
Step 3: Pierce Holes
- Use an awl to pierce evenly spaced holes along the fold of each signature.
Step 4: Sew the Signatures
- Thread a needle with linen thread and stitch the signatures together using your chosen binding technique.
Step 5: Attach the Cover
- Apply glue to the spine of the bound pages and adhere the cover material, ensuring it is centered and aligned.
Step 6: Press and Dry
- Place the book between heavy objects or use a book press to compress the pages and allow the glue to dry completely.
Step 7: Finishing Touches
- Trim any excess cover material and embellish the cover as desired with decorative elements.
Conclusion
DIY bookbinding offers a fulfilling and creative outlet for book enthusiasts and crafters alike. Whether you’re making journals, sketchbooks, or personalized gifts, the possibilities are endless. Armed with essential tools, materials, and techniques, you can embark on your bookbinding journey with confidence, creating beautiful handmade books to treasure for years to come.
So gather your supplies, unleash your creativity, and start binding your own literary masterpieces today!