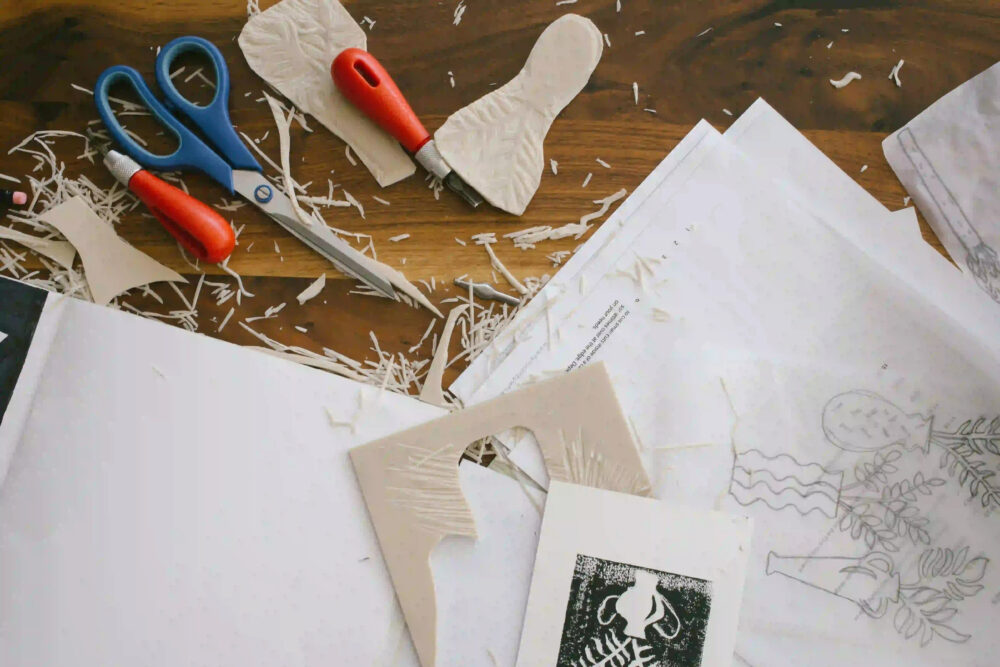
In a world dominated by digital communication, there’s something undeniably special about receiving a handwritten greeting card. Whether it’s for a birthday, anniversary, or just to say “thank you,” a handmade card adds a personal touch that can’t be replicated by an email or text message. Plus, crafting your own cards allows you to unleash your creativity and tailor each design to suit the recipient and the occasion. So, if you’re ready to elevate your card-giving game, grab your crafting supplies and let’s explore some creative DIY handmade greeting card ideas that will leave a lasting impression.
1. Pop-Up Flower Card
Brighten someone’s day with a vibrant pop-up flower card that blooms when opened. This delightful design is perfect for birthdays, Mother’s Day, or to simply send a message of cheer. Here’s how to make it:
Materials:
- Colored cardstock
- Scissors
- Glue
- Markers or colored pencils
- Green pipe cleaners
Instructions:
- Fold a piece of colored cardstock in half to create the base of your card.
- Cut out flower shapes from different colors of cardstock. You can go for classic flowers like roses or get creative with daisies, tulips, or sunflowers.
- Fold each flower shape in half and glue the folded edge to the inside of the card, positioning them so they will pop up when the card is opened.
- Use markers or colored pencils to add details to the flowers, such as petals, leaves, and stems.
- Cut green pipe cleaners into small pieces and curl them around a pencil to create spiraled stems for the flowers.
- Glue the pipe cleaner stems to the inside of the card, aligning them with the flower shapes.
- Write your message on the front or inside of the card, and your pop-up flower card is ready to delight the recipient!
2. Quilled Paper Art Card
Quilling is a beautiful paper craft technique that involves rolling and shaping strips of paper to create intricate designs. With a quilled paper art card, you can showcase your artistic skills and create stunning visual effects. Here’s how to get started:
Materials:
- Quilling paper strips in various colors
- Quilling tool
- Cardstock or blank cards
- Glue
- Tweezers (optional)
Instructions:
- Begin by rolling a quilling paper strip tightly around the quilling tool to create a coil.
- Release the coil and allow it to relax slightly, then glue the end to secure it in place.
- Use your fingers or tweezers to shape the coil into different forms, such as teardrops, circles, or spirals.
- Repeat the rolling and shaping process with additional paper strips to create various quilled shapes.
- Arrange the quilled shapes on a piece of cardstock or a blank card to design your card layout. You can create flowers, animals, abstract patterns, or any other design you desire.
- Once you’re satisfied with the arrangement, glue the quilled shapes onto the cardstock and allow the glue to dry completely.
- Add any additional embellishments or details, such as leaves, stems, or accents, using more quilled shapes or other decorative elements.
- Write your message inside the card, and your quilled paper art card is ready to impress!
3. Embossed Greeting Card
Add elegance and texture to your handmade cards with the art of embossing. Embossed greeting cards feature raised designs that give a luxurious and professional finish. Here’s how to create your own embossed masterpiece:
Materials:
- Embossing powder
- Heat embossing tool
- Embossing folder or stamp with a raised design
- Cardstock or blank cards
- VersaMark ink pad
- Embossing pen (optional)
- Embellishments (such as sequins or ribbon)
Instructions:
- Start by preparing your cardstock or blank card. If using cardstock, fold it in half to create a card base.
- Choose an embossing folder or stamp with a raised design that you’d like to use for your card.
- Apply VersaMark ink to the raised side of the embossing folder or stamp by pressing the ink pad directly onto the surface.
- Place your cardstock inside the embossing folder or stamp it with the inked stamp, making sure to apply even pressure.
- Carefully remove the cardstock from the embossing folder or stamp to reveal the raised design.
- Sprinkle embossing powder over the inked design, covering it completely.
- Shake off any excess embossing powder, then use a heat embossing tool to melt the powder until it becomes raised and shiny.
- Allow the embossed design to cool before handling.
- Optional: Use an embossing pen to add additional details or accents to the design, then repeat the embossing process.
- Embellish your card with sequins, ribbon, or other decorations as desired.
- Write your message inside the card, and your embossed greeting card is ready to impress!
Conclusion
Handmade greeting cards are a thoughtful and heartfelt way to celebrate special occasions and show your loved ones how much you care. With these creative DIY card ideas, you can unleash your imagination and create personalized masterpieces that will be cherished for years to come. So, grab your crafting supplies and let your creativity flow as you craft beautiful handmade cards for every occasion. Whether you’re a seasoned crafter or just starting out, there’s no limit to the joy you can spread with a handmade greeting card. Let your creativity shine and make someone’s day a little brighter with a handmade card made with love.