Are you tired of spending time and money at the nail salon? Do you yearn for perfectly polished nails without the hassle of scheduling appointments? Look no further! In this blog post, we will guide you through the art of mastering a perfect manicure at home. With a few simple steps and some handy tips, you’ll be able to achieve salon-worthy nails in the comfort of your own living room.
Step 1: Prepping Your Nails
Before diving into the world of nail polish and colors, it’s essential to properly prep your nails. Start by removing any existing polish gently using a non-acetone nail polish remover. Next, trim and shape your nails using a nail file. Remember to file in one direction to prevent splitting or peeling. If you want to go the extra mile, you can soak your hands in warm water to soften your cuticles, making them easier to push back.
Step 2: Caring for Your Cuticles
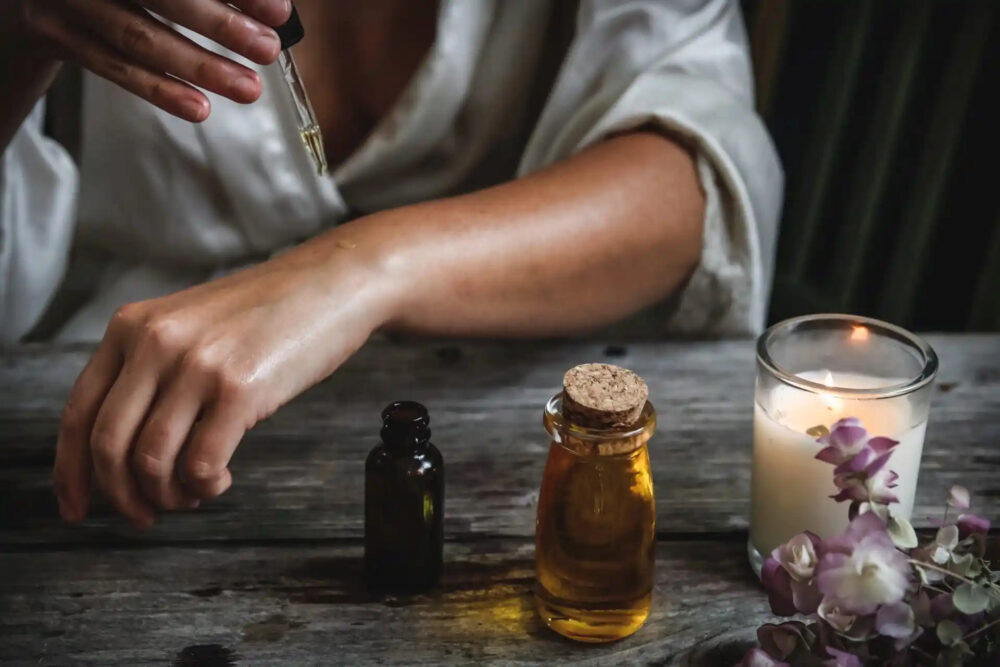
Healthy cuticles are the foundation of a perfect manicure. To care for your cuticles, apply a cuticle oil or cream and gently massage it into the nail bed. This will moisturize and nourish your cuticles, keeping them soft and preventing hangnails. Use a cuticle pusher or an orange stick to gently push back your cuticles, revealing more of the nail surface.
Step 3: Buffing and Smoothing
To achieve a smooth and even surface, it’s important to buff your nails. Use a buffer block to gently buff the surface of each nail. This will remove any ridges and create a smooth canvas for the polish. Be careful not to over-buff, as this can weaken your nails. Aim for a gentle touch and focus on achieving a natural shine.
Step 4: Applying the Base Coat
Now that your nails are prepped and ready, it’s time to apply the base coat. The base coat not only protects your nails from staining but also provides a smooth surface for the polish to adhere to. Apply a thin layer of base coat to each nail, starting from the cuticle and moving towards the tip. Let it dry completely before moving on to the next step.
Step 5: The Perfect Polish
Choosing the right nail polish is crucial for achieving a perfect manicure. Opt for a high-quality polish that offers a wide range of colors and finishes. Start by applying a thin layer of polish to each nail. Remember, less is more! Allow the first coat to dry before applying a second coat for a more vibrant color. For a professional-looking manicure, make sure to clean up any mistakes or excess polish using a small brush dipped in nail polish remover.
Step 6: Seal the Deal with a Top Coat
To prolong the life of your manicure and add a glossy finish, apply a top coat. The top coat not only seals in the color but also prevents chipping and adds extra shine. Apply a thin layer of top coat to each nail, ensuring you cover the entire surface. Allow it to dry completely, and voila! You have just mastered the art of a perfect manicure at home.
Final Thoughts
With a little practice and patience, you can become a pro at giving yourself a salon-quality manicure at home. Remember to take your time, follow the steps carefully, and experiment with different colors and finishes to find your signature style. So, say goodbye to expensive salon visits and hello to beautiful, self-done nails. Happy manicuring!